Cross-Border E-Commerce System Setup: Multi-Language Website, Payment Gateway Integration & Logistics API Walkthrough
Cross-Border E-Commerce System Setup: Multi-Language Website, Payment Gateway Integration & Logistics API Walkthrough
Disclaimer: This article is for technical education and demonstration only. It is not professional or financial advice. Any real-world deployment must comply with applicable laws and regulations.
Last month I took on a project where the client wanted a cross-border online store targeting the Southeast Asian market, with multi-language support, multiple payment methods, and shipment tracking. I deployed the entire source code from scratch, and the whole thing took me about a week of trial and error. This post documents every pitfall I hit and every configuration detail, as a reference for anyone planning to build a similar system.
Overall System Architecture
The source code is split into several major blocks: the storefront (responsive H5 + PC), an operations admin panel, modular server-side core components, database scripts, plus a set of UI design source files for product assets. The frontend uses the common Vue stack, while the server side follows a modular Java structure. Each business module deploys independently, which makes scaling and adding features later much smoother.
How Multi-Language Support Is Implemented
The client required Chinese, English, and Thai. This system pulls all copy into standalone language pack files, and the frontend switches automatically based on the user’s selection or browser language. Chinese and English come built in; for Thai, I entered roughly 800 entries manually through the admin language management feature, which took an afternoon. One piece of advice: never hardcode text directly in the frontend — maintaining that later will drive you crazy. Language packs are the right way to go.
Full Feature Test: From Order Placement to Shipment
After deployment, I ran through both the user-facing side and the admin panel end to end. The flow works:
Products and the Storefront System
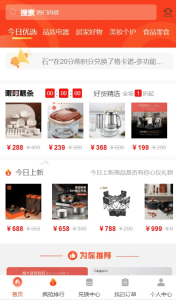
The admin panel supports product categories, specification attributes (SKU-style, like color/size), inventory management, and limited-time discount campaigns. The storefront has search, a shopping cart, favorites, and coupon selection at checkout. During testing, I found duplicate stock deductions under high concurrency; adding a transaction lock to the inventory deduction logic fixed it.
Payment Gateway Integration
The payment module supports both QR-code payment and redirect payment. I connected a local aggregated payment channel, tested it in the sandbox, then switched over to the production merchant account. Signature verification on callbacks is critical — on my first deployment, I had entered the callback URL incorrectly and orders sat in “pending payment” status. It took me half an hour of digging through logs to realize nginx wasn’t forwarding the callback path correctly.

Shipment Tracking
The system reserves a reel simulation for a logistics API. I connected a shipment tracking query API: once an order ships and the tracking number is entered, buyers can see logistics milestones in the order details. Different regions use different carriers, and the admin panel lets you configure multiple carrier templates — a thoughtful touch.
Backend Operations Management
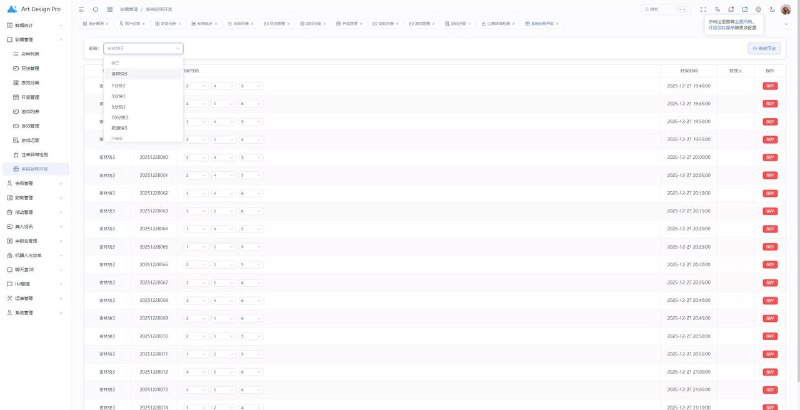
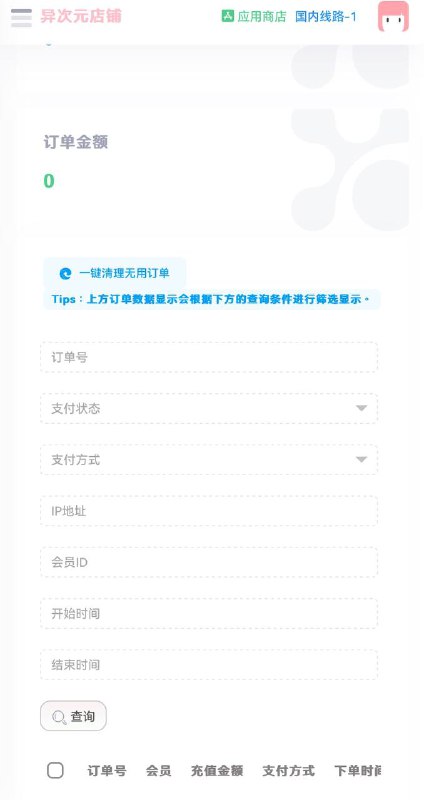
The admin panel is fairly comprehensive: member management, order management, financial transaction logs, a statistics dashboard, and marketing campaign configuration. Engagement features like daily check-in points and a points-based store are built in, so there’s no need to write them yourself. There are also performance reports that can be exported to Excel by day or by region, which made the client’s finance team quite happy.
The highlights of this source code: a modular server architecture, a language-pack approach to multi-language support, and standard interface slots reserved for payments and logistics. You can extend it without touching the core logic, making it a good fit for rapid launches and business validation.

Deployment Notes and Pitfalls
Environment Setup
The server requires JDK 1.8+, MySQL 5.7, and Redis. The database scripts are complete — just import the schema, then update the database connection and Redis address in the config file. I used the BaoTa panel to set up the environment, which saves effort, but remember to open the server ports in the firewall.
Pitfalls I Actually Hit
First, timezone issues. The server defaulted to UTC and all order timestamps were off by eight hours; switching to Asia/Shanghai, then verifying the MySQL timezone, fixed it. Second, product images are served from object storage — the placeholder keys in the source code must be replaced with your own, otherwise every product image breaks. Third, the API address in the packaged frontend is hardcoded, so after deploying to a production domain, remember to rebuild the frontend once.
For mobile, I wrapped the H5 site in a WebView shell and packaged it as an app. The client was in a hurry to launch, so this was the stopgap solution; going native can wait. The deployment itself took one day, and debugging took three — most of that time went to reconciling the payment callbacks and the logistics API.
Who Is This System For?
In my opinion, this system suits three types of people: first, small and mid-sized teams running cross-border independent stores who want to validate a market quickly; second, technically capable individual webmasters looking for a well-structured codebase to practice customization on; third, businesses that already have operations and want a multi-language storefront as an additional channel. If you have zero coding background, I don’t recommend putting this straight into production — at minimum, find someone who understands server-side development to review the payment and security aspects for you.
One note on source code compliance: the software itself is just a tool. Deployment and use must comply with applicable laws and regulations, and any illegal or improper use is prohibited. Before launch, make sure domain registration/filing and payment merchant qualifications are all in order.
FAQ
Q: Can the payment gateway be swapped for my own merchant account?
A: Yes. Payment parameters are centralized in the config file — just replace the merchant ID, secret key, and callback URL with your own. The prerequisite is that you’ve already obtained formal merchant credentials from the payment provider.
Q: Can I add a fourth language myself?
A: Yes. Add the new language in the admin language manager, export the entry file for translation, then import it back — the storefront can switch to it immediately. I tested adding Vietnamese and had it done in half an hour.
Q: What server specs are sufficient?
A: For a few thousand daily visits in the early stage, 2 cores / 4 GB RAM with 5 Mbps bandwidth is enough. Deploying the database and application separately makes things more stable. When traffic grows, you can add server nodes horizontally — this architecture supports load balancing.
Q: Is the code easy to customize for secondary development?
A: The server side has a modular structure with an independent directory per business block, and the interface layer is cleanly separated from the business layer. I opened it in IntelliJ IDEA and added a “group buying” module without touching any existing code — overall, the customization cost is quite low.
Disclaimer: This article is for technical education and demonstration only. It is not professional or financial advice. Any real-world deployment must comply with applicable laws and regulations.
#cross-border e-commerce #source code deployment #multi-language website #payment gateway integration #deployment notes
-
 Alipay QR Code Scan
-
 WeChat Scan Pay




![? The repair and optimization process for the [Meisheng] program’s point-theft BUG. Date: 2026.7.25](https://dajian168.com/wp-content/uploads/2026/07/telegram-img-2026-07-25-6a650358579c2.jpg)