TRC20 Payment Gateway and Cashier System Build: Wallet Integration & Sandbox Testing
TRC20 Payment Gateway and Cashier System Build: Wallet Integration & Sandbox Testing
Disclaimer: This article is for technical education and demonstration only. It is not professional or financial advice. Any real-world deployment must comply with applicable laws and regulations.
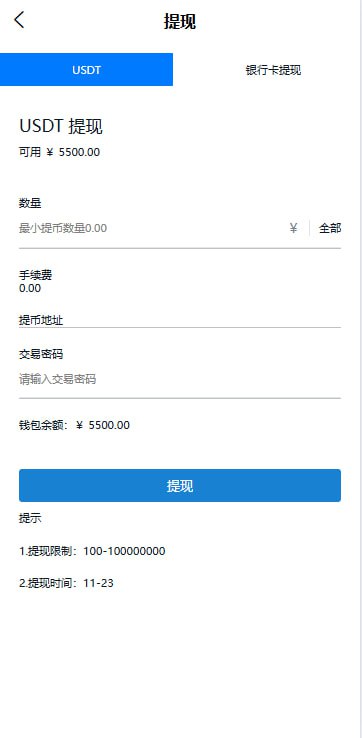
Recently I helped a client deploy a demo checkout gateway based on TRC20-USDT, mainly to verify how a tiered distribution plan could fit inside a payment flow. The source runs in a TRX DApp environment, with an H5 frontend adapted for wallet browsers. When the user taps confirm, TronLink is triggered for authorization, and USDT is transferred to the backend receiving address. After the server receives on-chain confirmation, it automatically allocates task shares across three configurable tiers. The whole flow never touches fiat; it only performs on-chain payment and callbacks, so it works well as a learning project for payment interface integration and checkout customization.
Practical Test: Wallet Invocation and Authorized Transfer
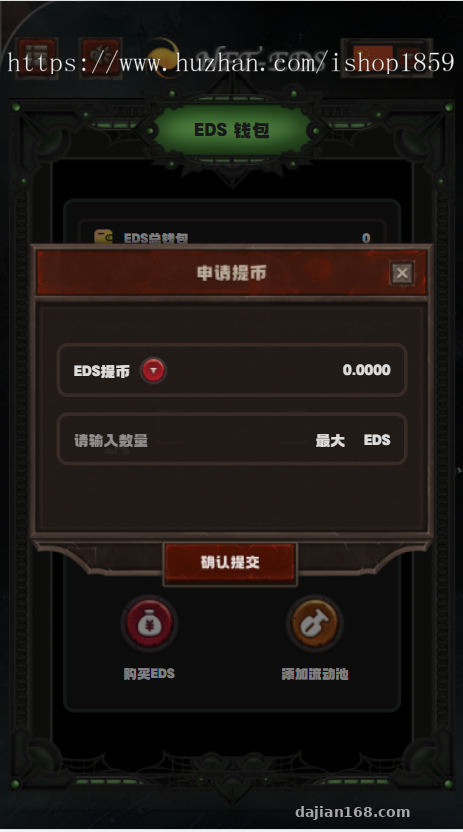
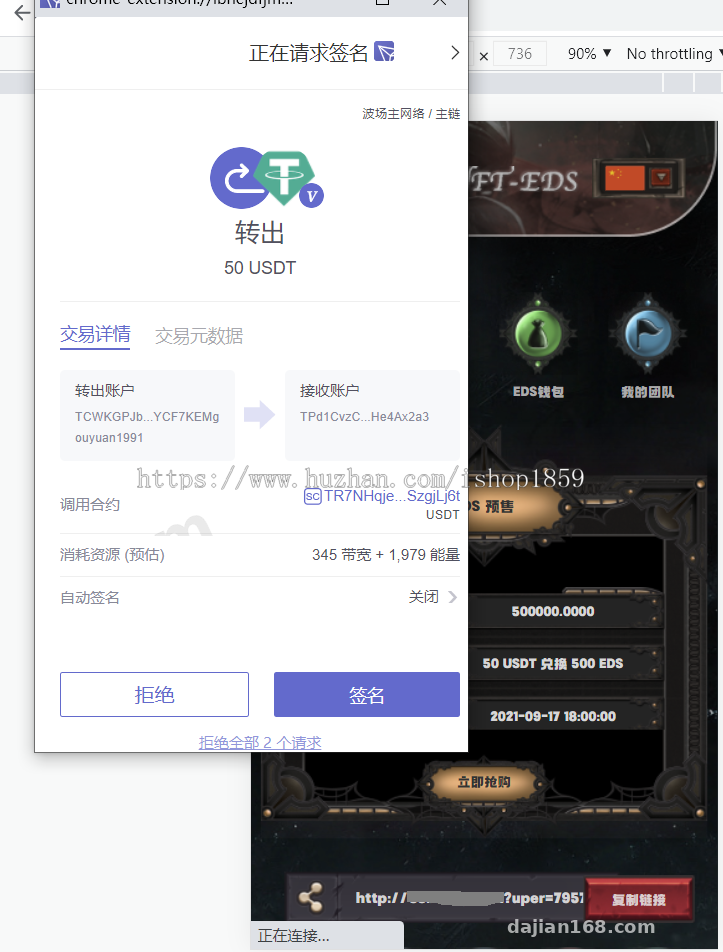
After deploying the frontend, I opened the DApp link with TronLink. When the page loads, it calls tronWeb to detect the current address and mainnet status, and prompts the user if the network is not switched. Tapping the “Confirm Payment” button assembles the transaction parameters: receiving address, amount, contract address (USDT-TRC20), and energy limit. Then the wallet authorization is triggered; after the user signs, the transaction goes on-chain.
One pitfall here is the data field for TRC20 transfers: approve and transferFrom are easy to mix up. For a direct transfer, use transfer(address,uint256), with the address padded to 32 bytes according to the ABI format. I first ran several small transactions on the testnet, confirmed that the callback interface could receive the transaction hash and confirmation count, and only then switched to the mainnet sandbox for load testing.
Callback and Order Matching
Back-end confirmation is not real-time settlement; it listens to node events. You can use TronGrid’s event query interface or deploy your own node. My approach polls every 30 seconds, queries transaction details by txID, matches amount, timestamp, and receiving address, and changes the order status from unpaid to paid. When several orders have the same integer amount, I add a second match using the from address and order creation time to prevent cross-order mismatches.
Deployment Essentials: Backend Architecture and API Design
The backend is PHP + MySQL, the frontend is H5 + tronweb.js. I placed it on a 2-core 4 GB test server, with Nginx as a reverse proxy, PHP 7.4, and MySQL 5.7. SSL is mandatory because TronLink refuses authorization under HTTP. Directory permissions are set to 755, and runtime and uploads must be writable.
Payment API and Checkout
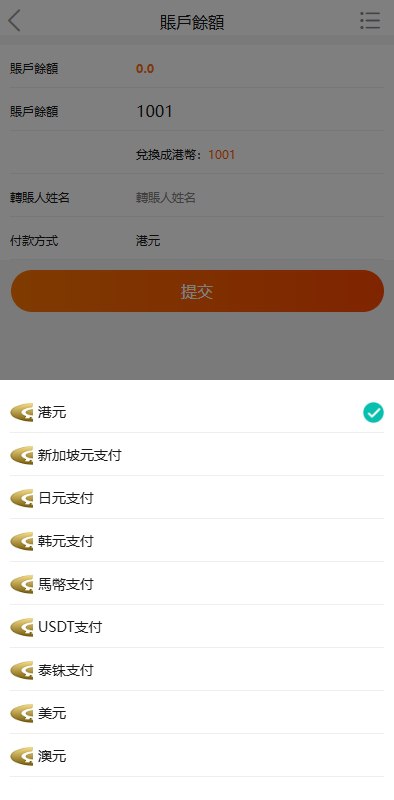
The core tables are simple: orders, receiving addresses, user relationships, and distribution records. The checkout interface accepts amount, order number, callback URL, and custom fields. The server generates a unique receiving address or reuses a fixed one, and returns a QR code or H5 payment link to the frontend. After payment, the server notifies the business side via asynchronous callback, including a sign signature that the business verifies with the agreed secret.
I used HMAC-SHA256 for signing: sort parameters by key, concatenate them, then append the secret. Even if someone intercepts the callback, they cannot alter the amount or order number. The interface documentation lists the status codes clearly: 0 pending, 1 paid, 2 underpaid, 3 closed due to timeout.
Tiered Distribution Logic
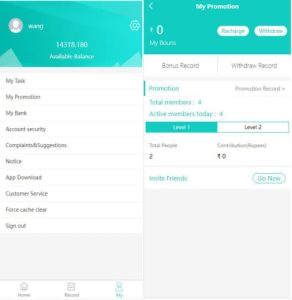
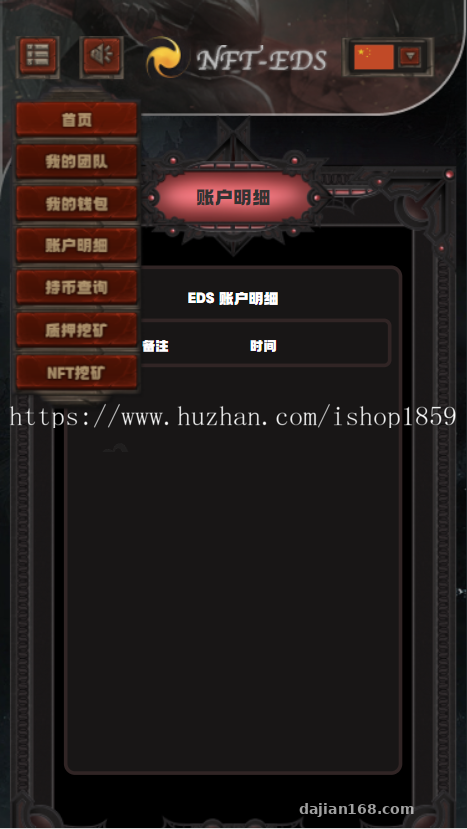
The most complex part of this project was not receiving funds, but the distribution logic. When users register, they bind an invite relationship, and the backend builds a three-tier tree. After payment, fixed shares are sent to upper tiers: direct 10%, second tier 5%, third tier 3%. Note that these ratios are task shares relative to the payment amount, not principal returns, so the database records a separate distribution ledger, independent from the order flow.
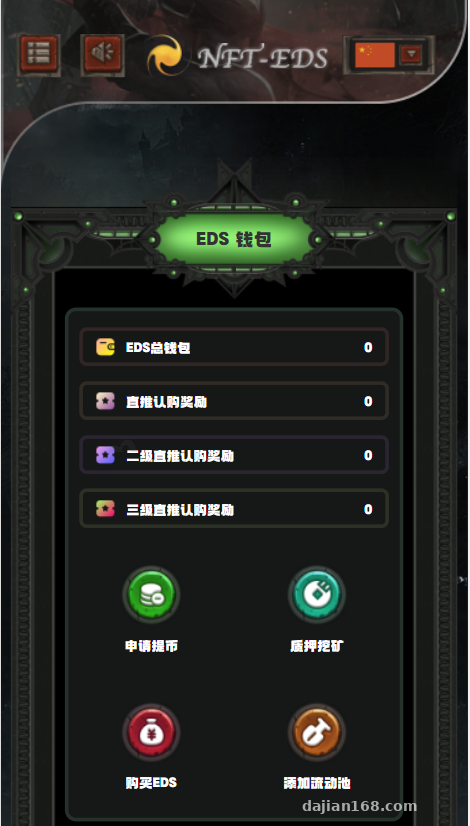
I made it configurable: the admin panel can change the three ratios or enable/disable any tier. If the upper-tier address is not filled in, that share goes to the platform account. After allocation, the admin records txID, arrival time, and status for reconciliation.
Tip: When doing on-chain distribution, always keep “platform reserve pool” and “fee estimate” fields. USDT transfers on the TRX chain need energy and bandwidth; if the platform address has not staked TRX, the transfer will fail or incur high fees.
Admin Controls and Customization Directions
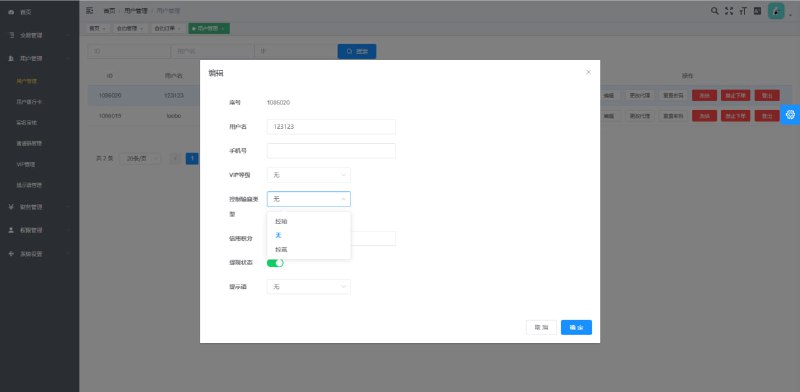
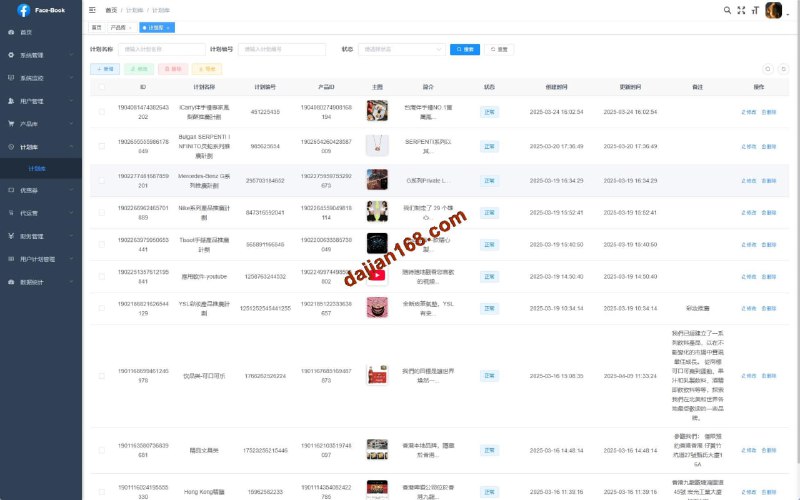
The admin panel is fairly complete: receiving address pool, order query, distribution statistics, user tier graph, multi-language toggle, and fee configuration. I use the “address pool” and “polling log” most often for troubleshooting; you can see at a glance which callback did not match.
For multi-language, the frontend loads JSON files via i18n, and the backend can switch the default language. For customization, you could turn the distribution module into a “task distribution” model: after users complete payment, they receive task shares, and the shares are split by tier. Alternatively, you can connect this payment API to an e-commerce system as a virtual-goods checkout.
I also added a sandbox mode toggle: when enabled, the frontend calls the testnet contract, and the backend queries the testnet node, so no real USDT is spent. Always enable sandbox during customization testing; otherwise repeated mainnet authorization will burn fees.
FAQ
Q: Can it only accept TRC20-USDT? Can it switch to another chain?
A: The core logic is based on the TRC20 contract and tronWeb. Switching to ERC20 or BEP20 requires changing the contract address and SDK. The transfer ABI format is similar, but event listening and node RPC need to be adjusted accordingly. I recommend running it on the testnet first before going live.
Q: Why does the wallet not pop up after the user clicks pay?
A: Common causes: TronLink not installed, network not switched to mainnet, page served over HTTP, domain blocked by the wallet, or incompatible browser kernel. When debugging, I first confirm HTTPS + mainnet, then rule out user-agent restrictions from the phone’s built-in browser.
Q: Can this system be used directly by real merchants?
A: The source code is a technical demo only. For production use, you must obtain the required payment and business licenses, and integrate it into a compliant merchant system. Any commercial use must comply with applicable laws and regulations; illegal or non-compliant uses are prohibited.
One last reminder: the biggest risk with this kind of on-chain cashier system is not the code, but compliance. After deployment, change the admin URL, private keys, and database password to strong ones, disable debug mode, and set an IP whitelist on the server. Treating the source as a learning project is fine, but before real commercial use, get the legal and licensing side sorted out first. This article is for technical education only.
Disclaimer: This article is for technical education and demonstration only. It is not professional or financial advice. Any real-world deployment must comply with applicable laws and regulations.
#payment gateway #cashier system #wallet authorization #sandbox testing #blockchain payment
-
 Alipay QR Code Scan
-
 WeChat Scan Pay