Digital Asset Payment Gateway Simulation Setup: USDT API Integration & Admin Deployment Notes
Digital Asset Payment Gateway Simulation Setup: USDT API Integration & Admin Deployment Notes
Disclaimer: This article is for technical education and demonstration only. It is not professional or financial advice. Any real-world deployment must comply with applicable laws and regulations.
Last month I took on a freelance project for a fintech training company. They wanted a digital asset payment gateway simulation system that could run both locally and on a demo server, with three core requirements: simulate USDT deposit transactions, provide an order-matching task distribution panel, and let admins adjust parameters on the fly. I worked from an existing PHP codebase and spent about a week on secondary development before delivering. I hit a few potholes along the way, so I’ve written them up here for anyone building a similar demo environment.
Let me state the positioning upfront: this system is purely for technical demonstration and teaching tests. All transaction logs, balances, and exchange rates are simulated data — no real funds are involved. The very first thing I did after deployment was disable every real on-chain deposit entry point and keep only the sandbox callback. More on that later.
1. Feature Walkthrough: What This System Can Actually Do
After installation, I clicked through every module in the admin panel. There were more working features than I expected — here are the highlights.
1.1 Payment API Simulation
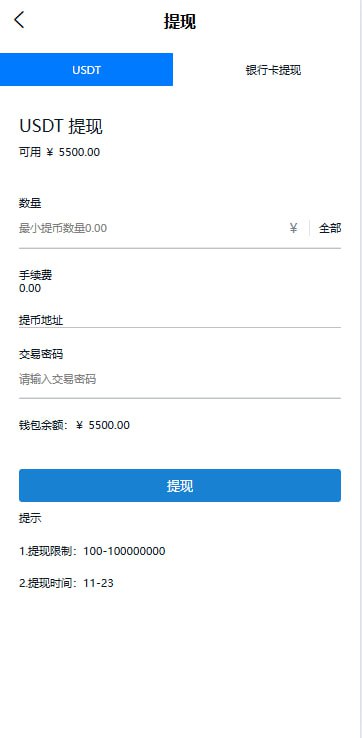
The admin panel has a “Channel Management” page where you can configure simulated USDT deposit addresses, QR codes, amount ranges, and confirmation counts. When the frontend initiates a simulated payment, the system generates a transaction entry at a configurable probability and writes it to the fund detail table. The API follows a standard POST callback structure, with MD5 signing plus a timestamp. During testing, I looped two hundred requests through Postman and every signature check passed, which confirmed the callback logic is a closed loop. For real business use you’d swap in an official SDK here, but for a demo it’s more than enough.
1.2 Order Matching & Task Distribution Panel
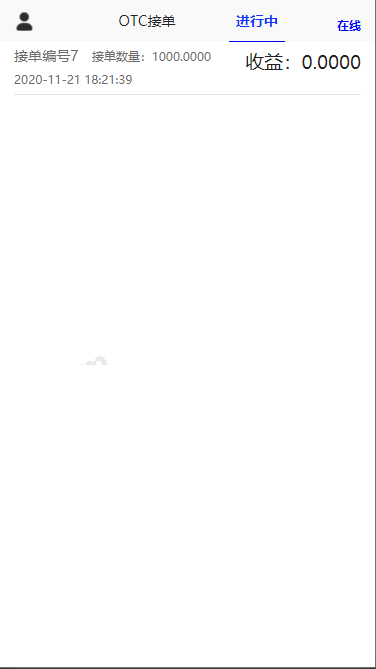
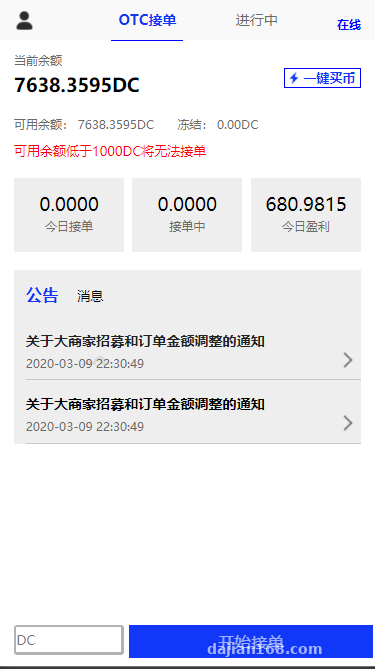
The source code had an OTC-like module. I reworked it into an “order matching demo.” The flow works like this: the admin publishes a batch of simulated buy orders, frontend users claim them with one click, pending-match records are created, and the system auto-matches them into completed deals. Only three core tables are involved: order_pool for the pool, match_log for matching, and task_record for claims. Used as a task distribution system, it makes explaining queues and state machines in training sessions incredibly intuitive.
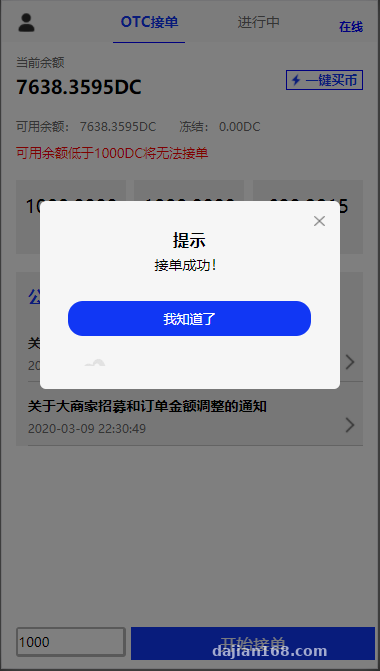
1.3 One-Click Swap Entry
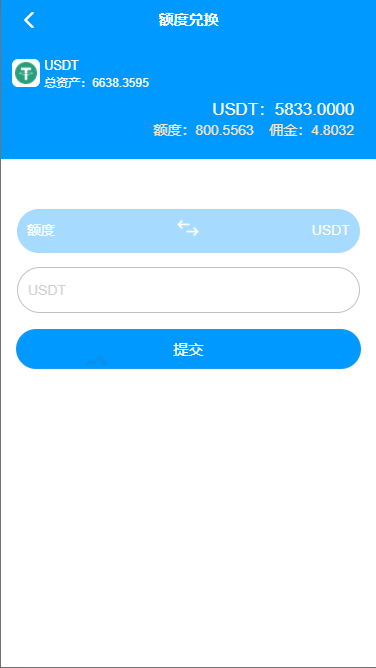
The frontend homepage has a “Quick Swap” button. Clicking it jumps to a simulated order page: pick an amount, generate a QR code, wait for the callback — the whole loop takes about ten seconds. I hard-coded the default exchange rate in a config table and added a ±3% random fluctuation parameter to make it look more like real market data. Note that this is market data simulation, and the page carries a “Demo Data” watermark to make that obvious.
1.4 Admin Controls & Multi-Language Support
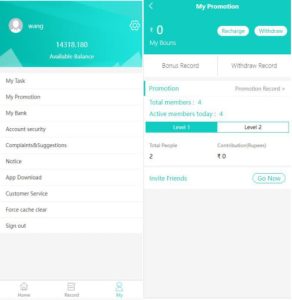
The admin panel is built on a modified AdminLTE theme, with a left sidebar covering six sections: users, orders, transactions, channels, announcements, and system settings. The most useful feature is the “Demo Switch,” which freezes all withdrawal buttons with one click so trainees don’t tap them by mistake. Multi-language support ships with Chinese and English language packs — just edit the arrays in the lang directory. I added Japanese as well; it took half a day.
Deployment advice: for any demo system involving fund flows, always replace real deposit callbacks with sandbox callbacks before going live, and add a global “Demo Data” indicator in the admin panel. This protects your trainees and keeps you clear of compliance risks. This article is for technical education only — please comply with applicable laws and regulations, and any unlawful use is strictly prohibited.
2. Deployment Essentials: Environment, URL Rewriting, and Cron Jobs
This codebase isn’t exactly beginner-friendly. Almost every pitfall I hit was at the environment layer.
2.1 Runtime Environment
Recommended stack: PHP 7.4 + Nginx + MySQL 5.7, built on ThinkPHP 5.1. I tried PHP 8 — it errors out immediately because several legacy functions were removed in that version, so don’t force it. A one-click install via the aaPanel (BaoTa) panel works fine, but remember to remove putenv and proc_open from the PHP disabled functions list, because the queue scripts depend on them.
2.2 URL Rewriting & Entry Point
The project entry point sits in the public directory, and Nginx needs rewrite rules pointing to index.php. On my first deployment every page returned 404 — I had forgotten to enable pathinfo. Just select the thinkphp rewrite template in the panel’s URL rewriting settings. If you’re on a Tencent Cloud Lighthouse server, also open ports 80 and 443 in the security group.
2.3 Cron Jobs
Simulated deposits depend on crontab. There’s an auto_match.sh script in the root directory that advances “pending match” records to “completed” based on probability, then generates the transaction entries. I set it to run once per minute:
*/1 * * * * php /www/wwwroot/demo/think queue:work –daemon
During testing I noticed that without the –daemon flag, the process exits after one run and the queue stalls — transaction numbers stop growing. At first I genuinely thought the API was broken.
2.4 Security Hardening
The default admin path is /admin — I changed it to a random string. Don’t use the root database account; create a dedicated user and schema. Block PHP execution in the uploads directory. Keep logging enabled: demo environments get scanned for admin panels constantly, and having logs running gives you peace of mind.
3. Who Is This For, and How Hard Is Secondary Development?
This system is not production-ready. Its place is demos, teaching, and internal testing. It suits three groups: training organizations that teach payment gateway development and need a sandbox for explaining callback signatures and state machines; PHP developers looking for practice, since the code structure is clean and the barrier to modification is low; and project managers who need a working product demo for stakeholders — you can assemble a complete, clickable loop in half a day.
I’d rate secondary development difficulty at three out of five stars. Language packs, page templates, and admin menus are all file-level changes, which is straightforward. The only mildly challenging part is the state transitions in the matching module, but the comments are reasonably clear. The frontend uses Bootstrap + jQuery with no exotic frameworks, so maintenance is painless.
FAQ
Q: Can this system handle real funds?
A: Not recommended. It’s designed as a simulated demo of a digital asset payment gateway, and every transaction is program-generated sample data. Wiring it to real business would require rebuilding the security layer, integrating an official payment SDK, and passing compliance review — essentially a rewrite. Any such use must also comply with applicable laws and regulations, and unlawful use is strictly prohibited.
Q: The callback never fires after deployment and transactions aren’t increasing — what do I do?
A: Nine times out of ten, the cron job isn’t running. First check whether crontab includes queue:work, then confirm proc_open isn’t in the PHP disabled functions list. Run php think queue:listen manually and watch the terminal for errors — the error messages will usually point you straight to the offending file.
Q: Pages show 404 or the entry file can’t be found?
A: Two causes are most common: rewrite rules aren’t configured, or the site root directory doesn’t point to public. In the panel, set the run directory to public, apply the thinkphp rewrite template, clear the cache, and it should be fine.
Q: How do I add a new language?
A: Copy the en-us folder under application/lang, rename the folder, and translate the array values inside it. Then add a new entry in the admin language settings. Menus and buttons switch automatically — no database changes needed.
Closing Thoughts
From environment setup to delivery, the whole project took me five days — three of them spent refining compliance notices and demo watermarks. The technical side isn’t hard; the hard part is drawing clear boundaries: letting trainees see how a payment gateway works without crossing into real business territory. If you’re building a similar simulated demo environment, I recommend following this approach — sandbox first, labels everywhere, and you’ll sleep well at night.
Disclaimer: This article is for technical education and demonstration only. It is not professional or financial advice. Any real-world deployment must comply with applicable laws and regulations.
#payment gateway #deployment notes #API integration #admin deployment #source code setup
-
 Alipay QR Code Scan
-
 WeChat Scan Pay