Vue Probability Simulation System Build Log: Frontend-Backend Separated Platform Deployment Notes
Vue Probability Simulation System Build Log: Frontend-Backend Separated Platform Deployment Notes
Disclaimer: This article is for technical education and demonstration only. It is not professional or financial advice. Any real-world deployment must comply with applicable laws and regulations.
Last month I took on a client project to build a frontend-backend separated probability simulation demo system. The frontend was written in Vue3 with comprehensive backend features including Telegram bot notifications, multi-language switching, and data analytics dashboard. The deployment process had quite a few pitfalls, so I’m organizing these notes to share with anyone who needs them.
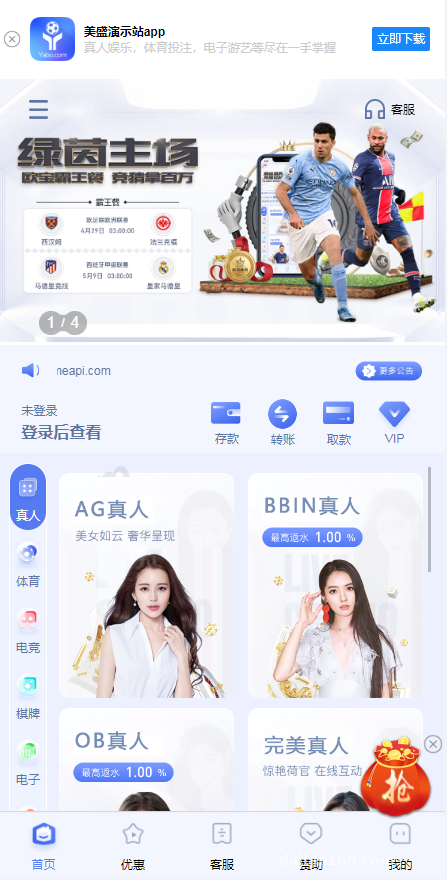
System Feature Testing
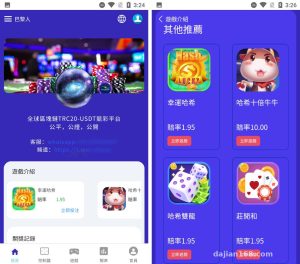
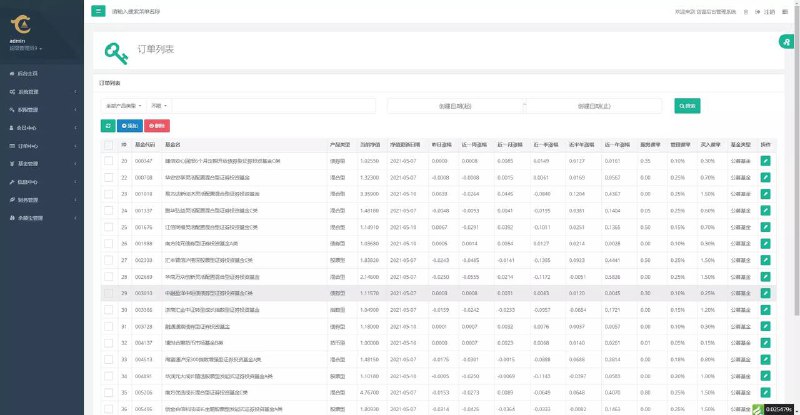
After getting the source code, I first ran it locally. The frontend is a pure Vue single-page application that compiles into static files, making deployment straightforward. The admin backend has fairly complete functionality:
Core Module Configuration
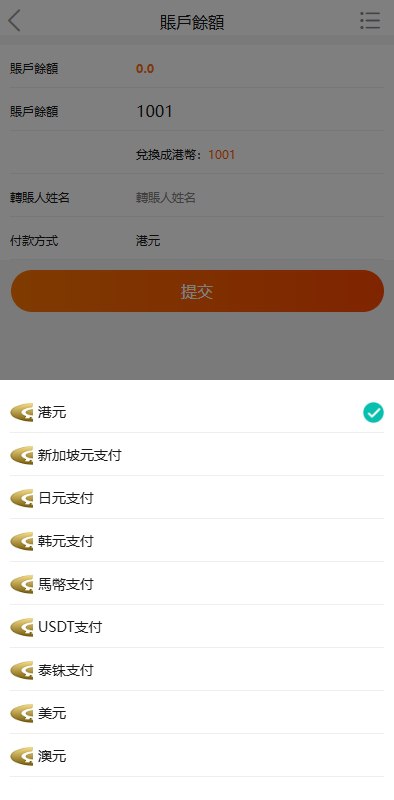
The admin panel allows direct configuration of probability parameters, user level rules, and reward ratios. The system has several built-in random number algorithm simulations where you can adjust weights. During testing, I found the backend has a real-time data monitoring dashboard showing current online users and daily transaction statistics, which is very practical for operations.
For payment interfaces, slots are reserved for mainstream third-party gateway integration—you need to apply for merchant accounts yourself and fill in the details. The Telegram notification feature uses the Bot API. You fill in the bot token in the backend to enable message notifications. It took me half a day to figure out how to configure the callback URL properly.
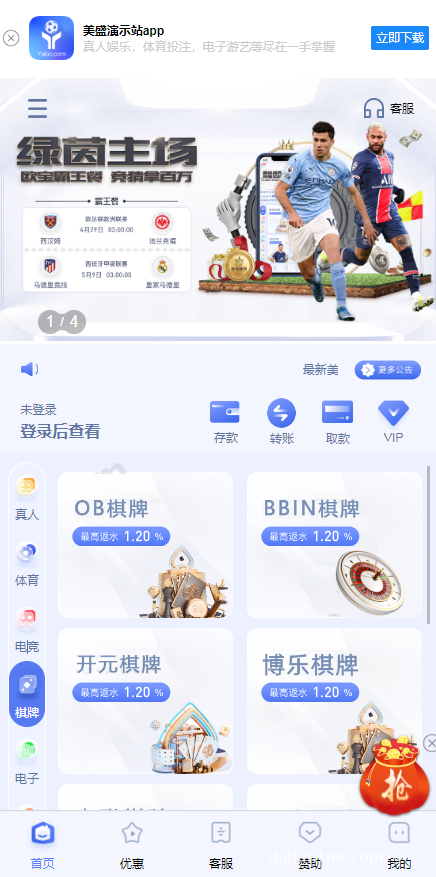
Frontend Tech Stack
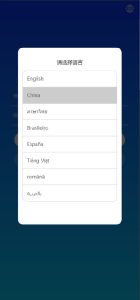
The frontend uses Vue3 + Vite for building, with Element Plus as the component library. The code structure is reasonably clear, with API interfaces encapsulated in a separate services directory. Multi-language support uses vue-i18n, defaulting to Chinese and English. Language packs are in the locales folder—to add other languages, just copy one and translate it.
Highlight: This source code features complete frontend-backend separation. The compiled frontend is pure static files that can be deployed directly to CDN for acceleration, while the backend API deploys independently, offering good scalability. It’s suitable for projects requiring multi-platform adaptation or future native app development.
Deployment Pitfall Log
Environment Preparation
I used a server with 2 cores and 4GB RAM running CentOS 7.6. Frontend building requires Node.js environment—recommend version 14 or above. I initially used Node 12 and got compilation errors, but upgrading to 16 solved it. The backend API is written in PHP, requiring Nginx + PHP-FPM configuration, with MySQL 5.7 as the database.
Remember to switch npm mirror sources when installing dependencies, otherwise download speeds are painfully slow. I used the Taobao mirror: npm config set registry https://registry.npmmirror.com
Frontend Build and Deployment
Enter the frontend directory and run npm install to install dependencies, then modify the API interface address in the .env.production file to your actual backend domain. The build command is npm run build. After packaging completes, the dist directory contains the compiled static files.
Upload the dist directory to your server and configure Nginx to point to this directory. Note that you need to configure routing fallback for history mode, otherwise refreshing pages will return 404. Add this line to your Nginx config: try_files $uri $uri/ /index.html;
Backend API Configuration
After uploading backend code, first import the database file, then modify database connection info in the config file. One pitfall is that the default database prefix might not match what you imported—check the table prefix settings in the config file.
API interfaces need CORS configuration. Add CORS response headers in the Nginx config to allow frontend domain access. Make sure rewrite rules are configured properly, otherwise interface endpoints won’t be accessible.
Suitable Use Cases
This system is well-suited for probability simulation demos, game mechanics research, and algorithm testing scenarios. The frontend-backend separated architecture facilitates future expansion—you can build other types of interactive platforms based on the existing code.
If you’re taking outsourcing projects, this codebase can serve as a template for rapid delivery. The modular functionality is well done, making it convenient to add new features or modify the interface. However, be aware that such systems must only be used in legal and compliant scenarios—never cross red lines.
Secondary Development Suggestions
Code comments are sparse, so you need some Vue foundation to understand it. I suggest first clarifying the routing structure and state management logic—main business code is in the views and store directories. API interface response formats are quite consistent, so maintaining this format during secondary development means you won’t need major frontend code changes.
UI components use Element Plus. To modify styles, just override the component’s CSS variables. Overall color scheme is defined in the global style file in the assets/styles directory, making changes fairly centralized.
Common Issues
Q: What to do about node-sass errors during compilation?
A: This codebase uses dart-sass and doesn’t need node-sass. If you get errors, check dependency versions in package.json and update sass and sass-loader to the latest stable versions. I once encountered this due to an outdated Node version—upgrading Node to 16 or above solved it.
Q: API interface calls failing after deployment?
A: First check error messages in the browser console. Most likely it’s a CORS issue or incorrect interface address configuration. For CORS, configure response headers in the backend Nginx. For interface addresses, verify the configuration in .env.production is correct—note that it shouldn’t end with a slash.
Q: How to configure Telegram bot notification functionality?
A: First find @BotFather in Telegram to create a bot and get the token, then fill it into the backend settings. You’ll need to add your server IP to Telegram’s whitelist and configure the callback URL as your API domain + callback route. During testing, you can use webhook debugging tools to see if requests are being received.
Q: How to add new language packs?
A: Go to the src/locales directory in the frontend code, copy the zh-CN.js file and rename it (e.g., ja-JP.js), then translate the text content inside. Import this language pack in the i18n config file and add the corresponding option in the language switcher component.
Q: Backend data statistics inaccurate?
A: Check if server timezone settings are correct, and also the timezone parameters for database connections. This system’s statistics are calculated based on database record timestamps, so incorrect timezone will cause statistical deviations. You can set the timezone uniformly in php.ini and mysql config.
That covers the main points from the entire build process. Some details might vary depending on your environment. I recommend first running through the entire process in a local test environment to familiarize yourself before operating on the server.
Disclaimer: This article is for technical education and learning purposes only. Please strictly comply with laws and regulations. The system must not be used for any illegal purposes. Users are responsible for their own legal compliance.
Disclaimer: This article is for technical education and demonstration only. It is not professional or financial advice. Any real-world deployment must comply with applicable laws and regulations.
#Vue Development #Frontend-Backend Separation #System Deployment #Source Code Customization #Telegram Integration
-
 Alipay QR Code Scan
-
 WeChat Scan Pay