Ocean Butler Fishing Game Demo Platform Setup Guide: Java Maven Backend + Unity Frontend Deployment Notes
Ocean Butler Fishing Game Demo Platform Setup Guide: Java Maven Backend + Unity Frontend Deployment Notes
Disclaimer: This article is for technical education and demonstration only. It is not professional or financial advice. Any real-world deployment must comply with applicable laws and regulations.
I recently helped a client deploy an Ocean Butler fishing game tabletop simulation demo system. The backend and server are written in Java with Maven managing dependencies, and the frontend is a Unity-packaged client. The whole thing took me about two days, and I hit a few snags in the middle, so I’m writing down the process here as a reference for anyone who wants to build their own demo environment.
Bottom line up front: the architecture isn’t complicated, but it does have requirements around the server environment and Java version. Don’t try to run it on a tiny 1-core 1GB box.
1. System Architecture and Hands-On Testing
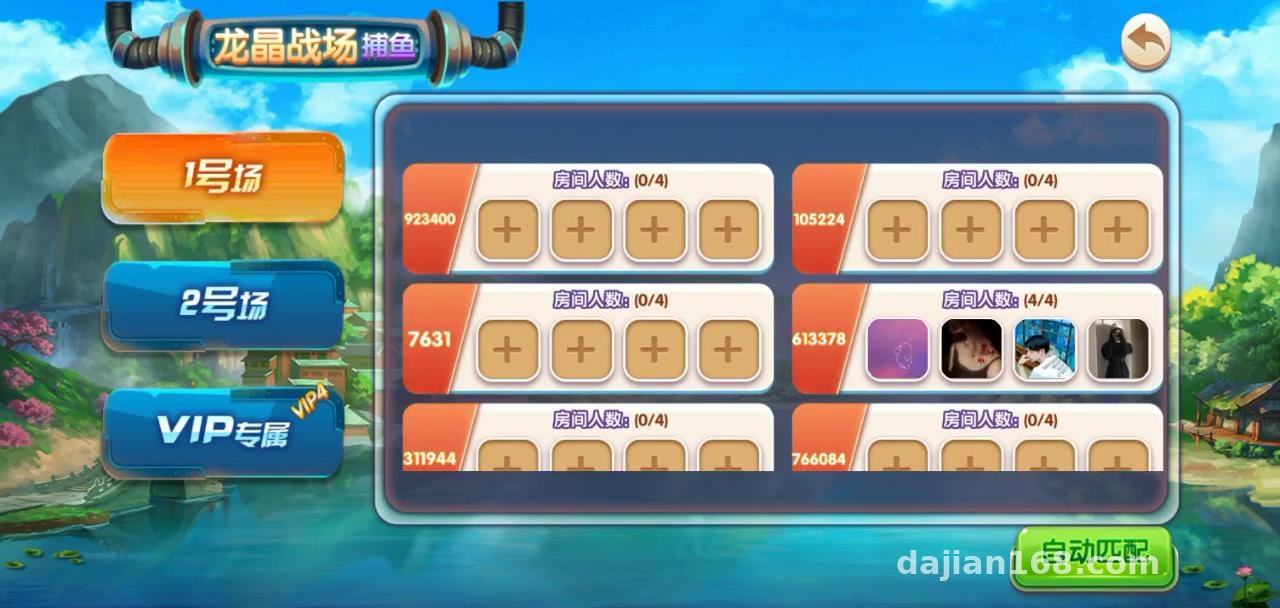
The system has three parts: a Unity frontend client, a Java server, and an admin panel. The server handles room logic, cannon multiplier demos, and coin settlement — the core gameplay — all running in a probability-simulation random number demo mode, purely for technical demonstration purposes.
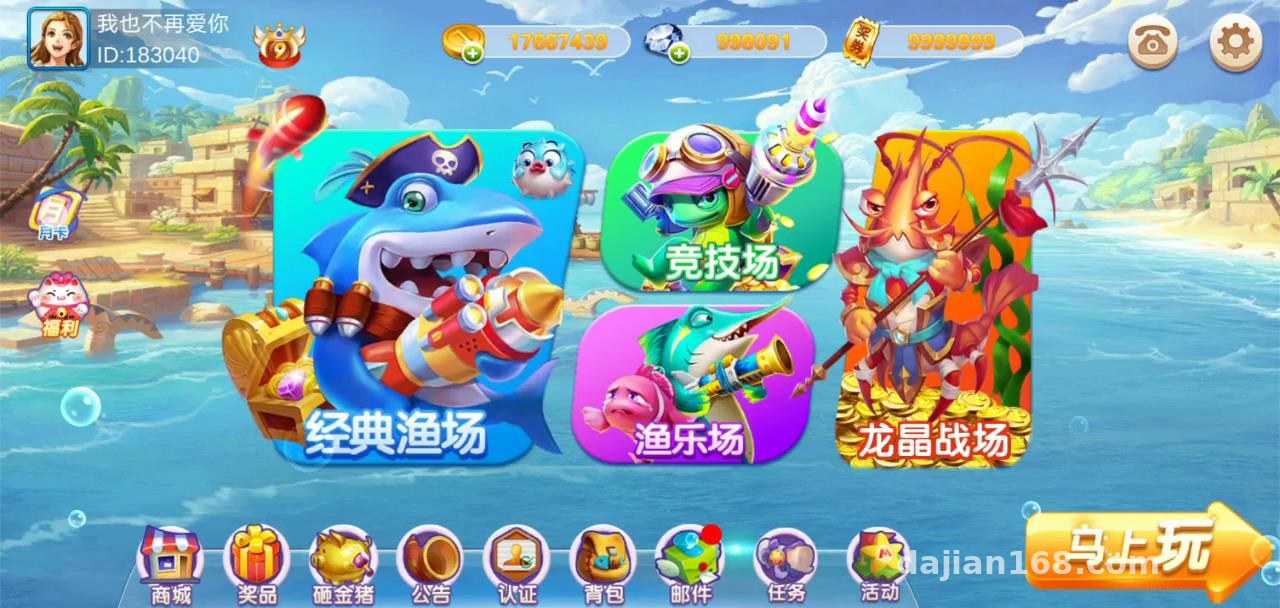
Frontend Testing
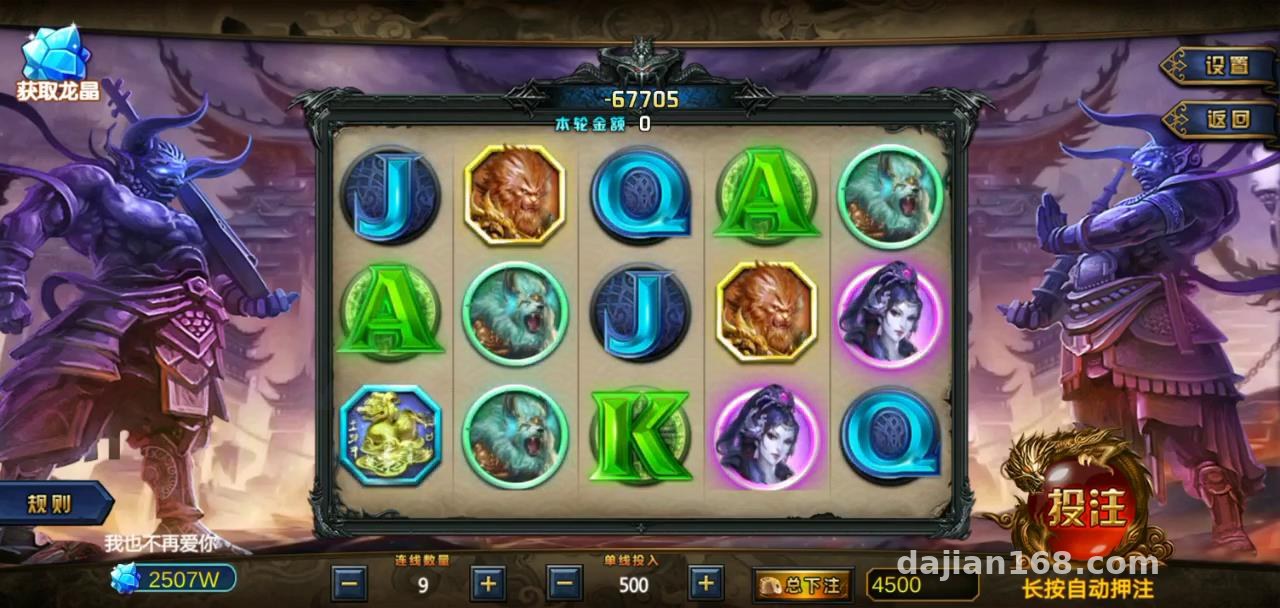
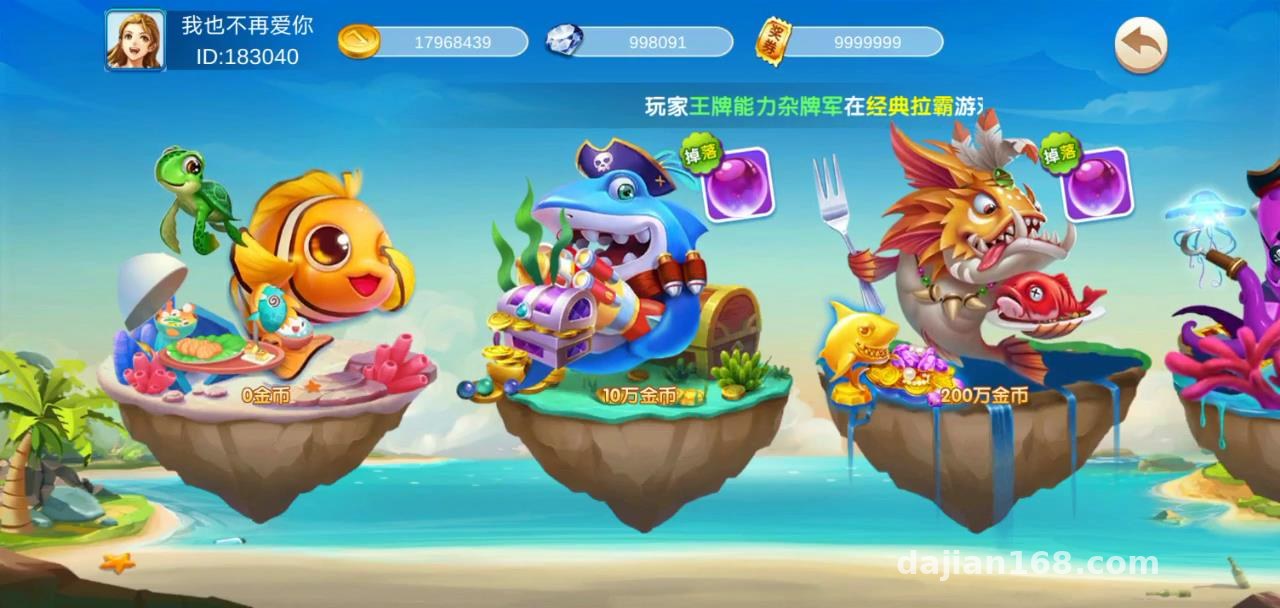
The Unity client build comes out to around 300+ MB. The visuals are quite polished — cannon switching, fish schools swimming, effects all run smoothly. I tested on a machine with a GTX 1050 and the frame rate held steady at 60fps. The client supports multi-language switching; Chinese and English can be toggled directly in settings, and adding language packs during secondary development is easy too.
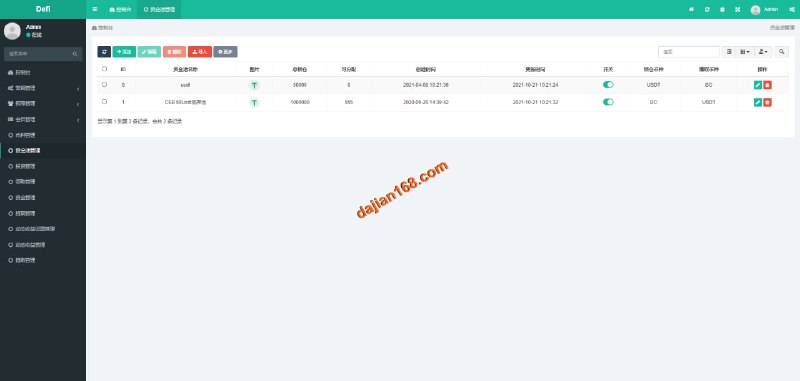
Admin Panel Testing
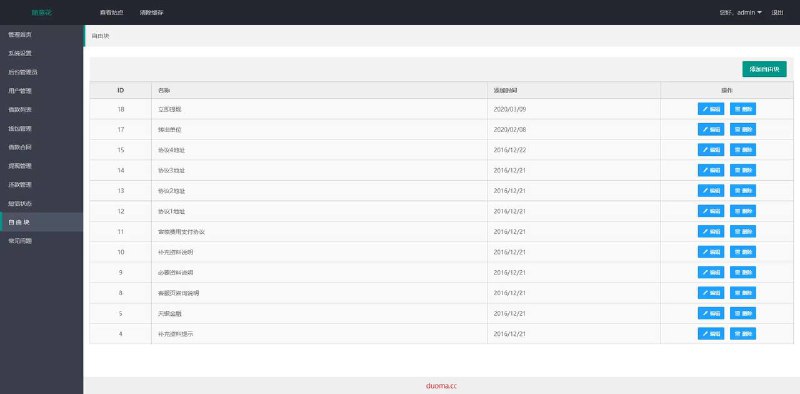
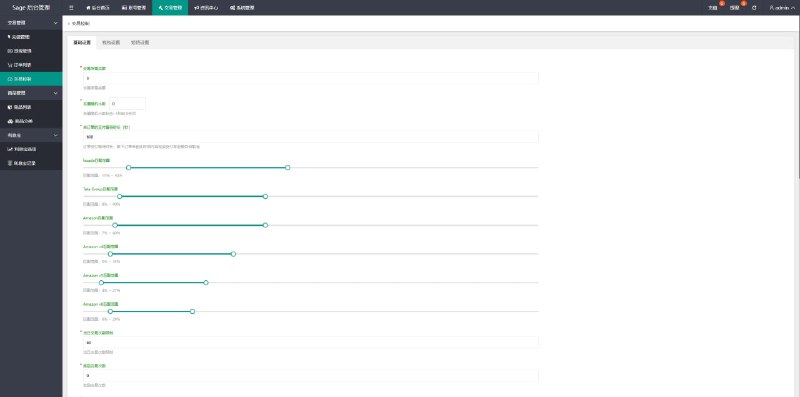
The admin panel is fairly complete:
· Member management: look up player data, coin transaction logs, and online status;
· Room configuration: adjust entry thresholds and multiplier ranges for demo rooms;
· Data reports: basic stats like daily active users and retention are all there;
· Permission tiers: a three-level account system for admins, operators, and support staff.
The panel is a web page, and the responsive design is mediocre — better to use it from a desktop.
2. Deployment Essentials and Pitfall Log
Environment Prep
My setup: CentOS 7.9, 2 cores and 4GB RAM, JDK 1.8 for Java (don’t use 11 — it causes dependency conflicts), MySQL 5.7, and Redis is a must since sessions and leaderboards both depend on it. Maven 3.6 or above works fine.
Server Startup Order
Here’s the first pitfall I hit: you must start Redis first, then import the database, and only then start the Java service. The first time I launched the server directly, I got connection pool errors for ages before checking the logs and realizing Redis wasn’t reachable. The database connection and Redis address are both configured in application.properties; the default port is 8080, and I’d suggest changing it to something non-standard.
The second pitfall: the Unity client’s resource server address has to match the server IP. Remember to change the default 127.0.0.1 in the config script before packaging, or the client won’t be able to connect to rooms.
Admin Panel Access
The panel path is /admin, and the default credentials are in the deployment docs — change them the moment you log in. Put Nginx in front as a reverse proxy, add an SSL certificate, and serve the panel over HTTPS for better security.
3. Secondary Development Tips
The code structure is reasonably clean — the server is split by module, with game logic and the communication layer kept separate. If you want to do secondary development, I’d suggest starting with the communication protocol section: it uses a custom protobuf message format, so adding new gameplay means updating both the proto files and the client. Art assets live in Unity AssetBundles, so reskinning doesn’t require touching code.
Highlight: the system ships with a test room and simulated data, so once deployed you can run a full end-to-end demo without creating your own data — very friendly for technical showcases.
4. Who This Is For
· Game development learners who want to study Unity + Java integration;
· Technical teams that need to set up a game demo environment;
· Engineers researching game server architecture.
If you just want to throw up a site and collect traffic, this isn’t for you — the maintenance cost is not low.
FAQ
Q: What’s the minimum server spec?
A: I’d suggest at least 2 cores and 4GB with a 50GB disk. If you expect many concurrent users, add more RAM — in my testing, 100 simultaneous online users consumed roughly 2.5GB of memory.
Q: The client can’t connect to the server — what should I check?
A: First check the firewall ports, then verify that the resource address configured in Unity matches the server IP, and finally check the server logs for any bind failure errors.
Q: Can it be made multi-language?
A: Yes. The frontend ships with a language-switching framework — just add language files in the localization directory. The admin panel portion requires you to add translations yourself.
Q: Does it support secondary development?
A: The code structure is clear and the comments are fairly thorough. Adding modules on the Java side or new gameplay on the Unity side both work — I’d recommend getting the original version running first before making changes.
Disclaimer: This article is for technical education only, sharing deployment experience. All features are for lawful demonstration and learning purposes. Users must comply with applicable laws and regulations, and any unlawful use is prohibited.
Disclaimer: This article is for technical education and demonstration only. It is not professional or financial advice. Any real-world deployment must comply with applicable laws and regulations.
#Source Code Setup #Java Backend #Unity Development #Game Deployment #Technical Notes
-
 Alipay QR Code Scan
-
 WeChat Scan Pay