Vue Mobile Probability Simulation Demo System: Frontend & Backend Deployment Notes and Customization Tips
Vue Mobile Probability Simulation Demo System: Frontend & Backend Deployment Notes and Customization Tips
Disclaimer: This article is for technical education and demonstration only. It is not professional or financial advice. Any real-world deployment must comply with applicable laws and regulations.
I recently helped a client deploy a mobile demo system with a shopping-mall style UI. The frontend is built with Vue, and the admin panel includes a probability simulation and random number demo module. The client wanted a smooth mobile experience, fast loading, and easy customization later on. After two days of work, I’m writing down the whole process to save anyone else building this from the same headaches.
Feature Review: What This System Actually Offers
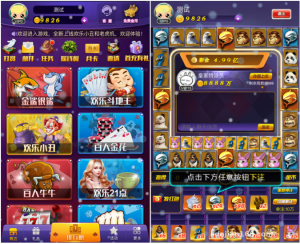
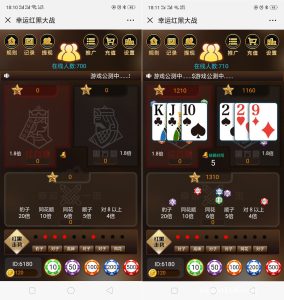
Short version: the frontend UI is genuinely better than a lot of older templates. It’s written in Vue with a high degree of componentization and smooth page transitions. Here’s what stood out in testing:
1. Mobile Adaptation
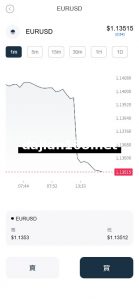
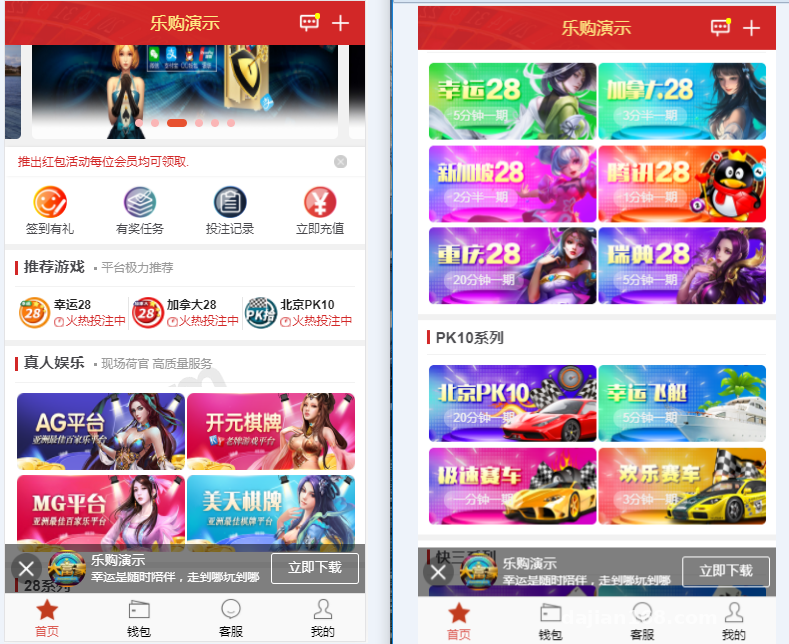
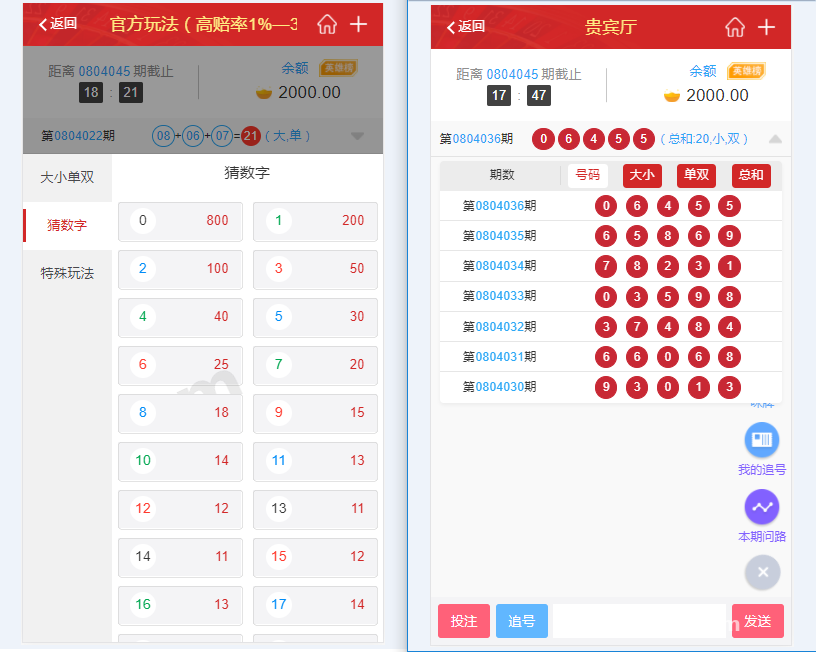
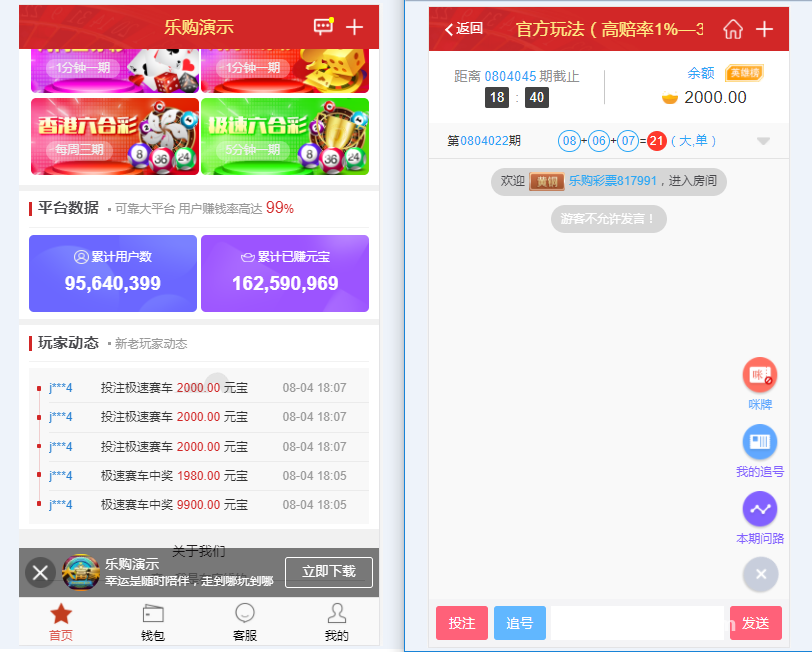
The entire UI is mobile-first, using rem layout with flexbox. I tested it on an iPhone 12 and a Xiaomi test device — no layout issues at different resolutions. The bottom navigation bar is fixed and floating, with tap response under 100ms. Nice experience overall.
2. Probability Simulation Module
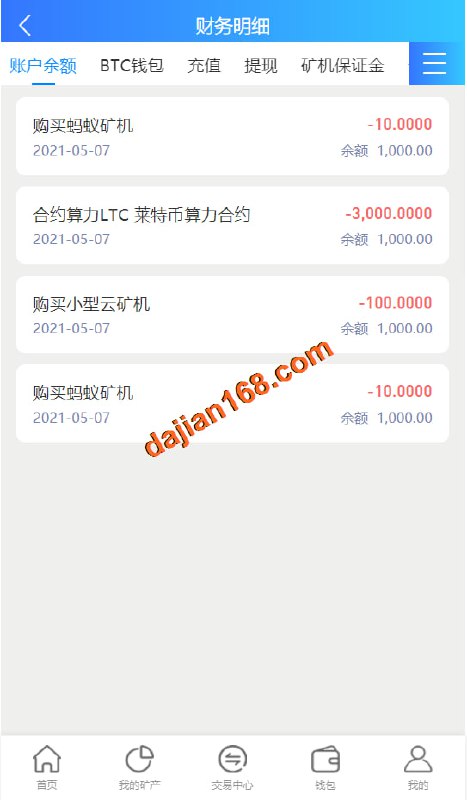
The admin panel lets you configure various parameters for the random number demo, such as simulation probability, demo rounds, and display style. Note that this is purely a data simulation demo feature — all data is locally generated demo content and involves no real funds whatsoever. Make sure your client understands this clearly before deployment.
3. Admin Panel
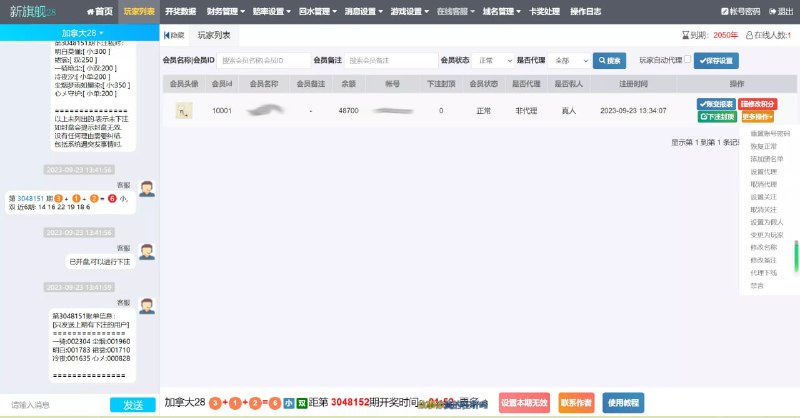
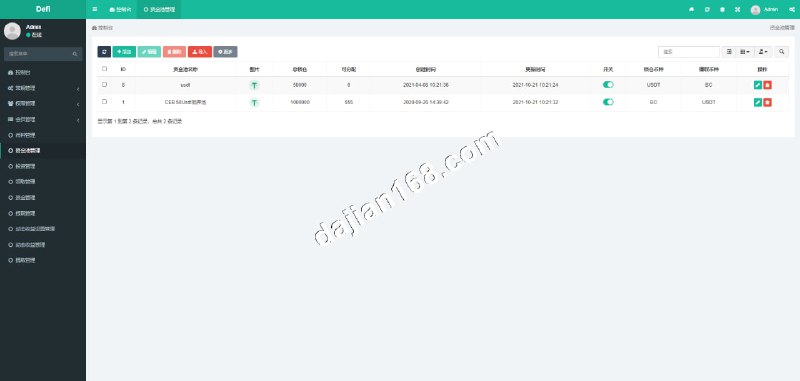
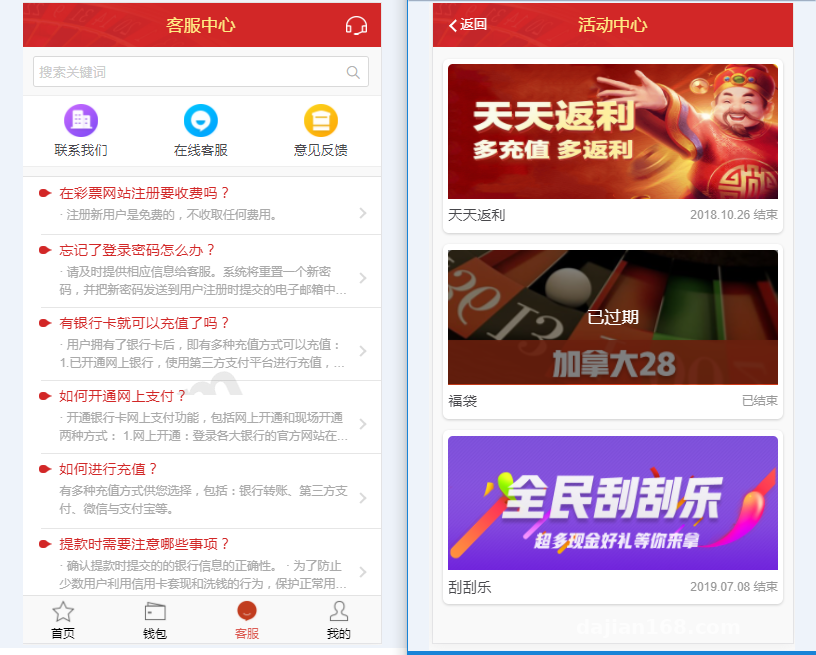
The admin backend is fairly complete: user management, demo data configuration, announcement publishing, and multi-language switching are all there. Chinese and English come bundled by default; language packs live in the /lang directory, so adding a new language is just a matter of copying a file and translating it.
Deployment Essentials: Environment and Configuration
My stack: CentOS 7.9 + Nginx 1.22 + PHP 7.4 + MySQL 5.7, with Node 16 for the frontend build. This combination runs very stably.
Frontend Build
Go into the frontend directory and first update the API address in the config to point to your backend domain. Then run npm install — here’s a gotcha: one dependency has its version locked, and Node 18 throws errors, so just stick with Node 16. After building, drop the dist directory into your site root, and remember to configure URL rewriting in Nginx, or route refreshes will 404.
Backend Installation
Upload the source code, visit /install, and fill in the database info following the wizard. My first install failed with a connection error — turned out remote database access wasn’t enabled; switching to localhost fixed it. After installing, delete the install directory for security.
Payment Interface Integration (Demo Purposes)
The system reserves integration points for payment interfaces, with clear parameter documentation in the config files. Since mine is a pure demo environment, I only connected a sandbox test channel to verify the flow, and the callback logic worked fine. If a client wants to connect a real channel, make sure the business is compliant, all licenses are in place, and it’s used only in legal scenarios.
Highlight: the directory structure of this source code is remarkably clean — frontend, backend, and API docs are clearly separated. Finding files during customization takes no time at all, far better than most messy templates on the market.
Secondary Development Experience
The client asked me to modify the homepage carousel and add a task distribution display module. Neither was hard:
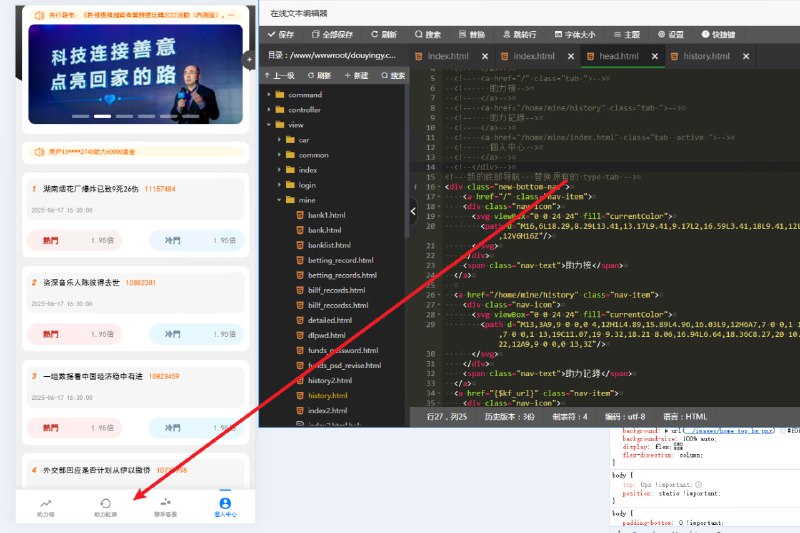
The carousel component lives in src/components/banner, pulling data from the backend API — change the image in the admin panel and the frontend updates automatically. For the task distribution module, I copied the announcement list pattern: added a controller at the API layer, plus a route and page on the frontend. Done in a day. Vue’s componentization really shines here — logic reuse is effortless.
One more heads-up: some APIs in the source have comments but they’re incomplete. Before customizing, I’d recommend running all the key endpoints through Postman first so you know what you’re working with.
Who This Is For
This source code suits: technical teams building mobile demo projects, developers who need to quickly stand up a multi-language demo platform, and beginners wanting to study Vue mobile project structure. If you don’t code at all, get help from someone experienced — the admin panel has quite a few configuration options.
FAQ
Q: What server specs are needed?
A: A demo environment runs fine on 1 core / 2GB RAM. If user volume grows or you need load testing, start with 2 cores / 4GB and at least 3M bandwidth.
Q: The build throws errors — what now?
A: Ninety percent of the time it’s the Node version; lock to Node 16. A few other errors come from a dirty node_modules cache — delete and reinstall.
Q: Can I split frontend and backend onto separate domains?
A: Yes. Change the API address during the frontend build and add a CORS whitelist on the backend. I’ve tested this — just remember to add CORS headers in Nginx.
Q: Is this system compliant?
A: This source code is intended solely for technical learning about probability simulation and random number demos. Deployment and use must comply with applicable laws and regulations; any unlawful use is prohibited.
Overall, this source code ranks above average in its category — clean code, clear structure, low customization cost. If you hit deployment issues, feel free to ask in the comments; I reply to everything I see.
Disclaimer: This article is for technical education and demonstration only. It is not professional or financial advice. Any real-world deployment must comply with applicable laws and regulations.
#Vue Development #Source Code Deployment #Mobile UI #Deployment Notes #Secondary Development
-
 Alipay QR Code Scan
-
 WeChat Scan Pay