Random Number Demo System Build Log: Vue Frontend + JS Backend + Result Publishing Module Deployment Notes
Random Number Demo System Build Log: Vue Frontend + JS Backend + Result Publishing Module Deployment Notes
Disclaimer: This article is for technical education and demonstration only. It is not professional or financial advice. Any real-world deployment must comply with applicable laws and regulations.
I recently helped a client deploy a full version of a random number probability simulation demo system. The frontend is written in Vue, all backend logic lives in the JS layer, and it comes with a live-video-style interface plus a result publishing module. It took me two days of tinkering, so I’m writing down my notes to help others avoid the same pitfalls.
Feature Testing: What This System Actually Offers
Bottom line up front: at the demo level, this thing is perfectly usable. I went through the core features one by one:
Random Number Engine
The backend implements the random number generation logic in JS. Every published result is computed on the server and then pushed to the frontend. I captured packets to check: results are delivered via WebSocket push, with latency around 200ms or less — very smooth in local testing. Probability parameters are configurable in the admin panel, and changes take effect immediately without restarting the service.
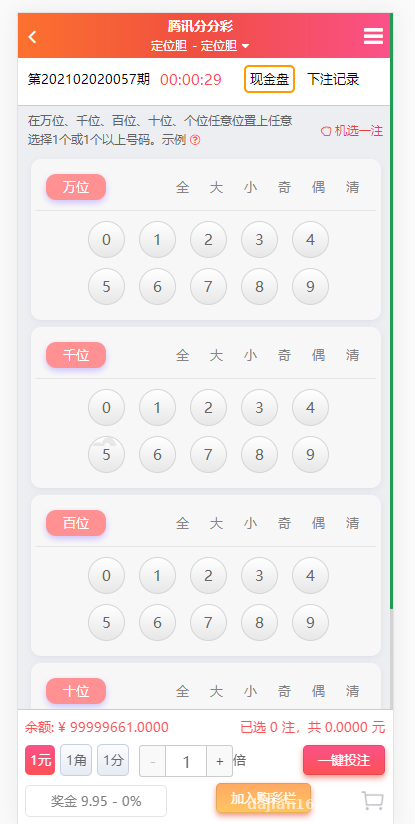
Live-Video-Style Interface
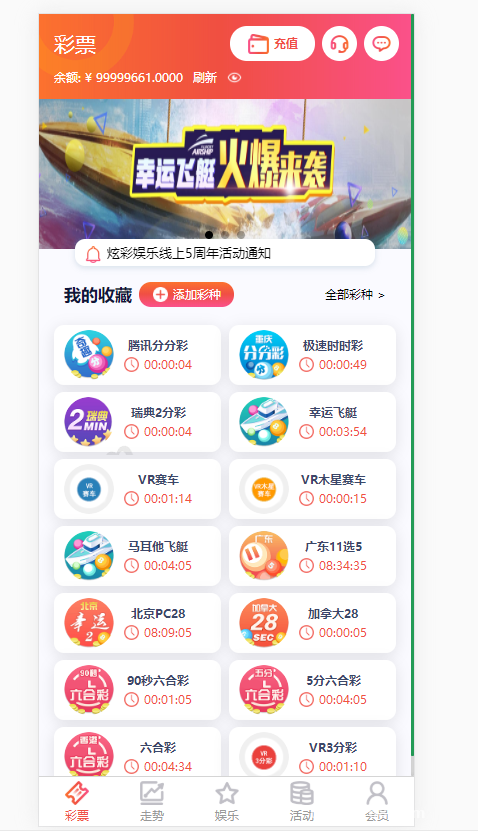
The frontend video streaming module connects to a third-party demo source, and load speed depends on the CDN. Here’s a gotcha: the default video source URL was already dead, and I had to swap in my own demo stream URL to get it working. The change is in stream.js in the config directory — one line and done.
Admin Panel
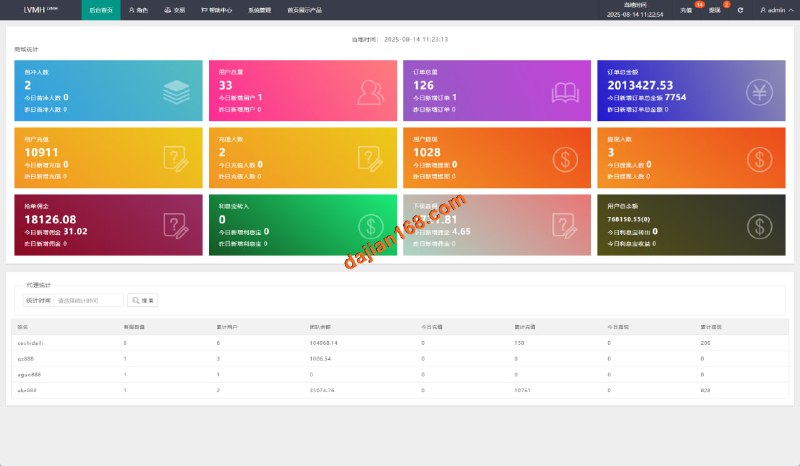
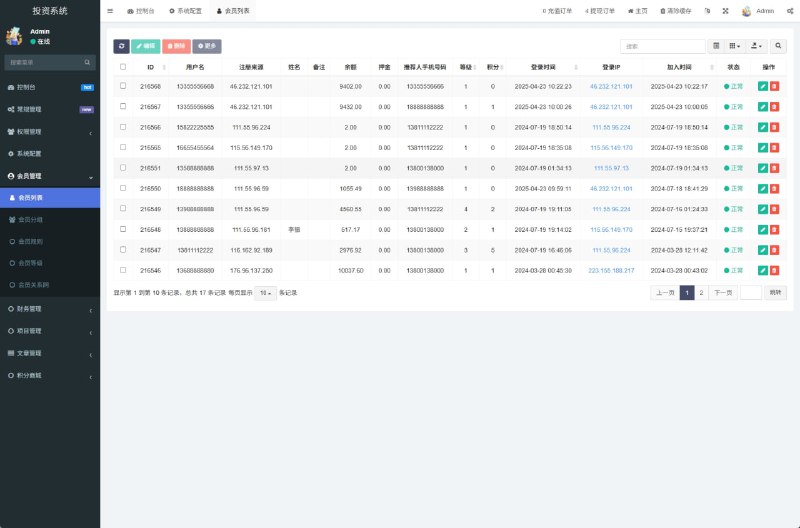
You access the backend via the admin path. Features include: user management, probability configuration, result publishing record queries, and announcement publishing. The UI is old-school Bootstrap style — not pretty, but fully functional. Result publishing records support CSV export, which is handy for data analysis demos.
Deployment Essentials: Environment and Parameters
My deployment environment is CentOS 7.9 + Nginx 1.24 + Node 16. A few key points:
Environment Setup
Don’t use Node 18 or above — the frontend build script depends on an older webpack version, and 18 throws OpenSSL errors. I got stuck on this for half an hour the first time. Adding NODE_OPTIONS=–openssl-legacy-provider works too, but simply downgrading to 16 is easier.
Nginx Configuration
The critical part is the WebSocket reverse proxy — you need to add the Upgrade headers, otherwise the result publishing module will just spin forever without updating. My config snippet:
location /ws { proxy_pass http://127.0.0.1:3000; proxy_http_version 1.1; proxy_set_header Upgrade $http_upgrade; proxy_set_header Connection "upgrade"; }
I also enabled gzip for frontend static assets, which cut first-screen load time from 4 seconds down to about 1.5 seconds — a noticeable improvement.
Database
I used MySQL 5.7 and imported the bundled SQL file, roughly 300MB. Before importing, set innodb_flush_log_at_trx_commit to 2, otherwise the import takes forever. Remember to change it back afterward.
Customization Suggestions
A few things to know if you plan to modify it:
1. The frontend Vue componentization is decent — the result display is an independent component, so changing styles won’t affect the logic.
2. Multi-language support only covers Chinese and English. Language packs live in the lang directory; to add a new language, just follow the existing JSON format.
3. The payment interface module is a reserved empty shell — only the callback framework exists. Real integration requires wiring up a third-party payment provider yourself; I’d suggest getting it working in a sandbox environment first.
4. The result publishing module’s algorithm logic is in server/random draw demo.js, and the comments are pretty good. When you change probability settings, update the comments too — otherwise you won’t understand your own code two months later.

Highlight: This system uses a server-side computation + WebSocket broadcast architecture for result delivery. The frontend doesn’t participate in random number generation, so data consistency is guaranteed for technical demos — that’s exactly why I recommended it to my client for teaching purposes.
Who This Is For
This source code suits: developers who want to learn the Vue + WebSocket real-time push architecture; teams that need a probability simulation demo platform for teaching or product prototyping; and tech enthusiasts with JS backend basics who want to quickly put together a complete demo site. Not recommended for complete beginners — you should at least know basic Linux commands and Nginx configuration.
FAQ
Q: What server specs are needed to set this up?
A: Minimum 2 cores and 4GB RAM, with at least 3M bandwidth. In my testing, a 2-core 4GB machine ran it with CPU usage under 30%, and 50 concurrent users in a demo scenario was no problem.
Q: What if I can’t access the admin panel?
A: Nine times out of ten it’s missing URL rewrite rules. With Nginx, rewrite all requests to index.php or the entry file; with Apache, enable the rewrite module. Also check the admin directory permissions — set them to 755.
Q: The result publishing module isn’t updating in real time?
A: Check two things: first, whether the Nginx WS proxy headers are added; second, whether the server firewall allows the WS port. My pitfall was the BT Panel’s default firewall blocking port 3000 — once I allowed it, everything worked immediately.
Q: Can it be used for commercial operation?
A: This source code is intended for technical learning and demonstration purposes only. When using it, you must comply with applicable laws and regulations, and it must not be used for any unlawful purposes. Please verify the compliance requirements in your own region.
Overall, this source code is fairly complete. The lack of documentation is its weak point, but the code structure is clear, and if you’re willing to spend time reading it, you’ll get it working. Feel free to share questions in the comments section.
Disclaimer: This article is for technical education and demonstration only. It is not professional or financial advice. Any real-world deployment must comply with applicable laws and regulations.
#Source Code Setup #Vue in Practice #Deployment Notes #Random Number Demo #Admin Panel
-
 Alipay QR Code Scan
-
 WeChat Scan Pay